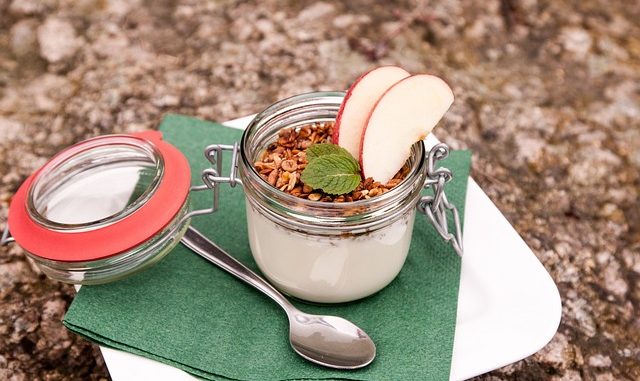
Making yogurt at home is fun and enjoyable. Results at first can be variable but it’s worth persisting with as you can begin to experiment with yogurt consistency and quality.
Equipment:
To make 920g (4 cups) means you will need:
- a large stainless-steel pot
- an instant-read thermometer
- measuring cups
- mixing spoons
- 1 quart (950ml) glass jar
- 2 pint (475 ml) jars
- 4 half-pint (235 mL) jars – use canning jars ideally.
The yogurt is prepared by taking a commercial yogurt culture, preferably a commercial yogurt with active cultures.
Ingredients:
- 8 cups milk (1/2 gallon) – whole best although skim can be used with poorer results
- 1/2 cup commercial yogurt
Sterilizing The Glass or Clay Jars
If you use jars, sterilise them by washing in hot, soapy water and rinse well. Dry in the oven for 15-20 minutes at gas 1, 140°C, fan 120°C until hot and completely dry. Boil any rubber seals for 10 mins, then leave to dry.
Preparation:
- Heat the milk in a small, heavy-based saucepan, saucier, or a Dutch oven (e.g. Crock-Pot) over a medium to medium-high heat. Stir occasionally to ensure it doesn’t catch and burn especially on the bottom of the pan, and until it reaches 85°C/200°F on a thermometer.
- The milk should just steam slightly but not boil, and fine bubbles will appear.
- Cool the milk. Remove from the heat and leave to cool to 46°C-47ºC/112°F to 115°F – this will take 25-30 mins. Stir from time to time to prevent a milk skin forming on the surface. It does stir back in. Some home producers will rapidly cool by dunking the pan or Dutch oven in a bowl/sink of cold water. Add ice if needs be in very hot weather to that cooling bath. Keep stirring the milk whichever way you cool it.
- Whisk the yogurt which will be used as your starter culture. If its very thick, just thin out with some of the cooling milk so that it is runny.
- Thin out the yogurt with milk. After cooling this milk, put 3 – 6 tbsp in a small bowl and mix with the yogurt. Use a whisk. Pour back into the pan and stir to combine so that the yogurt ‘innoculum’ is thoroughly dispersed.
There are alternative methods for producing a fermentation and each works well – it all depends on your own take on what makes a good quality yogurt. The other key feature is the rate at which you cool the yogurt after fermentation because there is a set occurring. This is very much trial and error and will be based on experience but its simple enough.
- You can pour into a 500ml wide necked glass jar or ceramic jar, screw on the lid and leave at room temperature to set. OR
- Transfer the pot to a recently switched off cooking oven which produces a slower cooling rate and sets off the fermentation slightly differently.
- Cover a Dutch oven containing the newly fermented yogurt and place the whole pot in a turned-off oven — turn on the oven light or wrap the pot in towels to keep the milk warm as it sets. This is ideally around 42-43ºC/110°F, though its not an absolute requirement.
- If you used something like a Crock-Pot say, then just turn off and allow to cool naturally.
- Remember that unless you were already fermenting in the container in which you intend to store the yogurt then this will need to be transferred to clean jars. There is a greater risk of contamination initially but once the fermentation takes off the risks get less. OR
- You can also make the yogurt in a dehydrator left at 42-43ºC/110°F or by using a yogurt maker.
- In methods 1 to 3, the exact timings of fermentation will depend on the cultures used, the temperature of setting, and your yogurt preference. The longer it sits, the thicker and more tart it becomes as lactic acid is produced.
- If this is your first time of preparation check it at 4 hours and recheck every 2 hours until it reaches the flavour and consistency you like best of all. Avoid stirring or shaking the yogurt until it has fully set.
- Cool the yogurt properly. As in all methods, once the yogurt has set to your liking, remove it from whichever cooling point you have used. If it was the oven, allow to cool further. The slower the cooling the greater the difference in the set as mentioned before.
- If you see any watery whey on the surface of the yogurt, you can either drain this off or whisk it back into the yogurt before transferring to containers. Whisking also produces a yogurt with a more consistent creamy texture.
Planning on making ahead and storage
When set, transfer to a sterilized jar and seal. It will keep in the fridge for up to 2 weeks. You should use it to culture a new batch after no more than one week as this culture will lose its viability with age.
Let me know how you get on.
Leave a Reply