
Butchering a duck involves several key steps that are similar to processing a chicken, with a few differences due to the duck’s anatomy and thicker skin/fat layer. Here’s a straightforward guide:
How to Butcher a Duck (Step-by-Step)
⚠️ Safety First: Use a very sharp knife and work on a clean surface. Sanitize everything before and after.
Tools You’ll Need
-
Sharp boning or chef’s knife
-
Cutting board
-
Kitchen shears (optional)
-
Towel or paper towels
-
Bowl or tray for parts
1. Prepare the Duck
-
If it’s a whole duck with feathers, you’ll need to pluck it or skin it.
-
If it’s pre-plucked and cleaned, rinse and pat dry.
2. Remove the Legs
-
Lay the duck breast-side up.
-
Pull a leg away from the body, slice through the skin between leg and breast.
-
Pop the leg joint out by pulling it back, then cut through to remove the whole leg (thigh + drumstick).
-
Repeat on the other side.
3. Separate Thighs and Drumsticks (optional)
-
Cut through the joint between the thigh and drumstick.
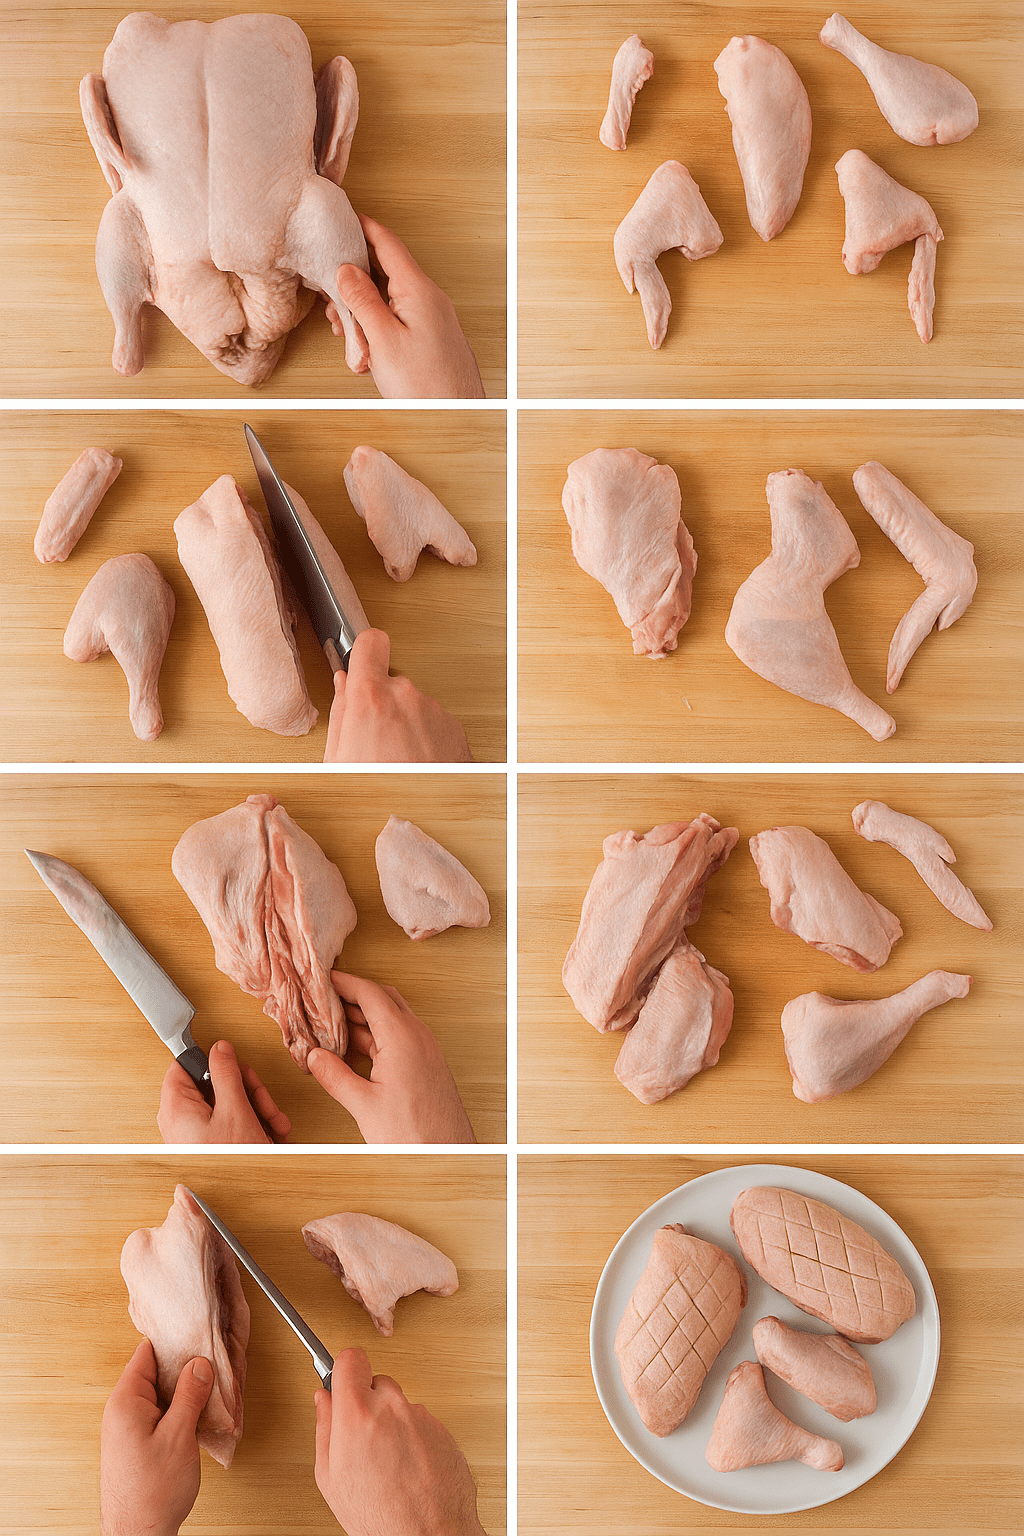
4. Remove the Wings
-
Extend each wing outward.
-
Cut through the joint where it meets the body.
5. Remove the Backbone (Optional)
-
Use kitchen shears to cut along each side of the spine from tail to neck.
-
Remove and save for stock.
6. Remove the Breasts
-
Find the breastbone and make a clean slice down the center.
-
Gently follow the bone with your knife to lift off each breast.
-
Trim off any silver skin or excess fat.
7. Clean and Trim
-
Remove any remaining fat, skin, or sinew.
-
Save duck fat—it’s excellent for cooking.
8. Optional: Skin or Score
-
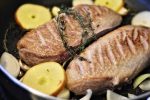
For crispy skin, keep the skin on the breasts and legs.
-
Score the skin lightly to help render the fat.
9. Store or Use
-
Refrigerate parts for up to 2–3 days or freeze for longer storage.
-
Use bones and carcass for rich duck stock or broth.
Tip: Save the Fat!
Render duck fat from the skin and trimmings by slowly cooking it over low heat. Strain and store for roasting potatoes or other dishes.
Leave a Reply